Brown a four-pound chicken breast-down in the pot, turn it over onto a bed of onion and carrot, put the lid on and cook at 375°F for about an hour, then take the lid off for the last twenty-five to thirty minutes to crisp the skin. Pull it when the thickest part of the thigh reads 165°F, which is the published minimum for all poultry. A 6-quart round pot fits a bird that size; a 7.25-quart fits a five-pounder comfortably.
The lid is the whole story of this dish, and it cuts both ways. Trapped steam keeps the breast meat extraordinarily moist — moister than any open roasting tin will give you — and that same steam keeps the skin wet, which means it cannot crisp. Recipes that promise both without ever lifting the lid are promising something the physics does not allow. This page is written around that trade instead of around it.
If crisp skin is the main thing you want, the honest answer is the skillet version: cast iron roast chicken, uncovered, hot and dry. If juicy meat and a built-in pan sauce matter more, stay here.
Lid on or lid off: what each actually does
Lid on — a covered braise-roast
With the lid down, moisture leaving the chicken condenses on the underside and falls back. The bird effectively cooks in a saturated atmosphere, which does three things: the breast stays moist even if you overshoot slightly, the whole thing cooks faster than an open roast, and you finish with a genuinely good quantity of concentrated juices in the bottom of the pot. This is close to the old French poule en cocotte tradition, and it is the reason the dish exists.
Lid off — the only way to crisp skin
Crisp skin requires the surface water to leave. Under a lid it cannot. So the last stretch of cooking has to be uncovered, at a decent temperature, with the surface dry. Twenty-five to thirty minutes is usually enough; do not rely on a final blast of five minutes, because the skin has to dry before it can brown.
What a dutch oven gives you that a roasting tin does not
Heavy iron walls and base, so the pot holds temperature when a cold four-pound bird goes in; the same vessel browns on the hob and roasts in the oven, so the fond stays where you want it; and the high walls concentrate the juices rather than letting them spread into a thin scorched layer. The straight comparison is dutch oven vs roasting pan.
The pot you need
Six quarts for a bird up to about four and a half pounds. The chicken should sit with the lid closing properly and not be jammed against it; if the lid is propped open by the breast, the steam seal is gone and so is the method.
Seven quarts or more for a five-pound bird or a bird plus a lot of vegetables.This is one of the few dishes where the large pot genuinely earns its place in the cupboard — see the large pot rankings.
Round, not oval. Oval looks like the right shape for a bird and is a worse fit for a hob burner; a trussed chicken fits a round pot fine. The argument in full is round vs oval.
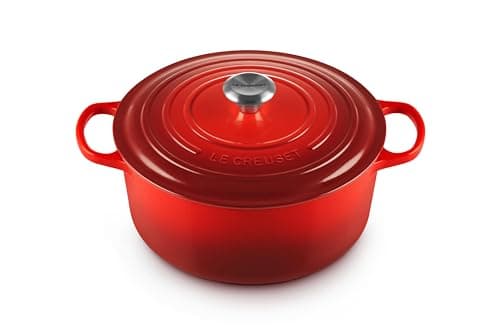
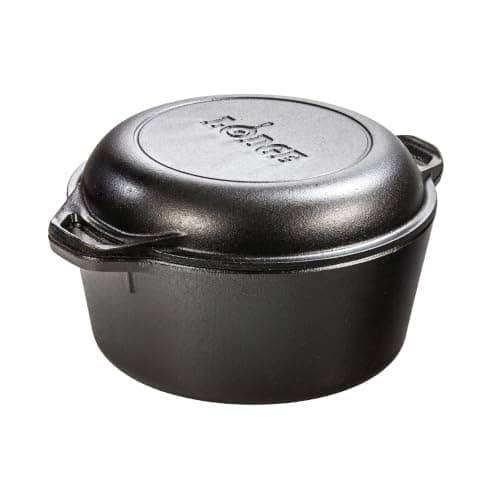
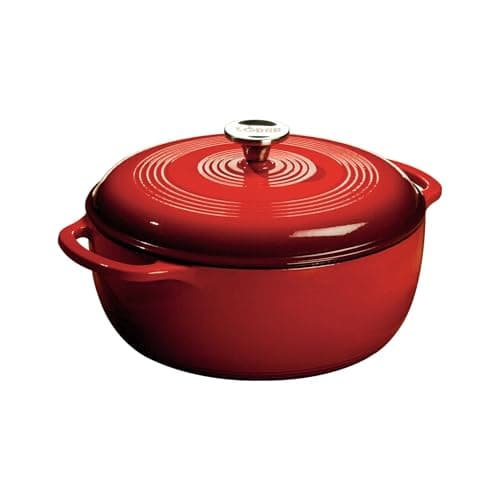
Bare iron is fine here, unlike a wine braise.Chicken, stock and vegetables are not aggressive, so a bare pot works — and the Lodge Double Dutch has a particular advantage, because its lid is a 10.25-inch skillet, so the lid itself becomes the pan you finish the gravy in. The three pots we would use are ranked below.
The method
1. Dry the bird, salt it ahead
Pat it dry inside and out and salt it all over, ideally the night before, uncovered in the fridge. Dry-brining does two jobs at once: it seasons past the skin, and it dries the skin, which is the single biggest factor in whether the final uncovered stretch produces crackle or leather.
2. Truss it, or at least tie the legs
A compact bird cooks more evenly and fits a round pot better. You do not need butcher's technique — a loop of string around the ankles is most of the benefit.
3. Brown it breast-down on the stove
Oil, medium-high, breast down for six to eight minutes until deep gold. Breast-down first is deliberate: that is the side you want colored, and it is the easiest side to get flat against the pot. Turn it over, brown the back briefly, then lift it out.
4. Build the bed and deglaze
Soften thick-cut onion, carrot and celery in the fat, scraping up the fond. Add a splash of stock or wine — half a cup, no more. The bird is about to release a great deal of its own liquid, and the mistake here is adding so much that you poach it.
5. Sit the bird on the bed, breast up, lid on, 375°F
About one hour for a four-pound bird. The vegetables lift the chicken clear of the bottom of the pot, which prevents the underside from scorching and lets the hot air circulate underneath.
6. Lid off, finish 25–30 minutes
Take the lid off, raise the oven to 400°F if you like, and let the skin dry and color. Spooning the pot juices over the breast at this point feels like basting but works against you — it rewets the skin you are trying to dry. Baste the legs if you must; leave the breast alone.
7. Temperature, then rest
Probe the thickest part of the thigh, avoiding bone. The published minimum for all poultry is 165°F — no rest time is specified for poultry in that guidance, unlike beef and pork, but rest the bird anyway for ten to fifteen minutes so the juices redistribute before you carve. Rest it on a board, not in the pot, or the skin softens again in the steam.
8. Gravy from the pot, in five minutes
Skim the fat, reduce what is left on the stove, and either crush the vegetables through it or lift them out as a side. There is no step here that requires flour or stock cubes; a covered chicken produces enough concentrated juice to carry itself.
Timing, and the honest way to think about it
A commonly used rule of thumb for a covered bird at 375°F is around twenty minutes per pound plus the uncovered finish, which puts a four-pound chicken at roughly eighty to ninety minutes total and a five-pounder at closer to a hundred and ten. Treat that as a planning number for when to start, not as doneness. Birds differ in shape, ovens differ by twenty degrees or more, and the only thing that actually tells you a chicken is cooked is a thermometer in the thigh.
One more thing worth saying plainly: cooking a whole chicken low and slow for several hours, as some recipes suggest, gives you meat that falls off the bone and skin that is beyond rescue. That is a legitimate dish — it is just not roast chicken, and you should choose it on purpose rather than discover it.