Cook filet mignon in the heaviest pan you own, get it properly hot, sear it hard for about two minutes a side, then drop the heat and finish it in foaming butter with the steak tipped onto its edges — or move the pan to the oven if your steaks are thicker than about an inch and a half. The reason the method differs from a ribeye is simple: a tenderloin steak has no fat cap to render and very little internal fat, so there is no safety margin. Use a thermometer and pull it off the heat before you think you should.
If you have a cast-iron skillet, you already have the right equipment. If you are choosing one, the only specification that matters for this is mass — more iron means more stored heat, and stored heat is what stops the pan temperature collapsing the moment a cold two-inch steak lands on it. Our general steak page is here; this page is specifically about the cut that page's method does not suit.
Why filet needs a different method
There is no fat cap
Half of the standard cast-iron steak routine is about the fat: stand the steak on its fat edge, render it, cook in the rendered beef fat. A filet has none of that. You are supplying all of the fat yourself, which means your choice of fat and when you add it becomes the technique rather than an afterthought.
It is lean, so it is unforgiving
Intramuscular fat is a buffer: it melts, it lubricates, and it masks a degree or two of overcooking. Tenderloin has very little, so the window between “perfect” and “dry and grainy” is narrower than on any other premium steak. A thermometer is not optional equipment for this cut.
It is thick and round, not flat
A filet is cut as a tall cylinder, often two inches high, which means two things. First, the surface-to-volume ratio is poor, so the time needed to heat the center is much longer than the time needed to brown the outside — the classic recipe for a gray band. Second, it has sides, and a steak with sides needs rolling, not just flipping. Searing the curved edge is the difference between a browned puck and a browned sphere.
What you need, and what to buy if you do not have it
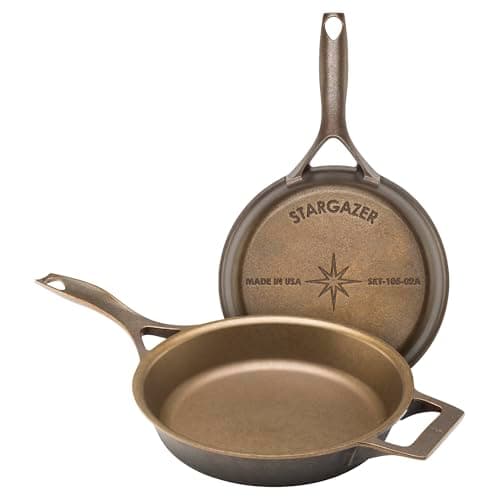
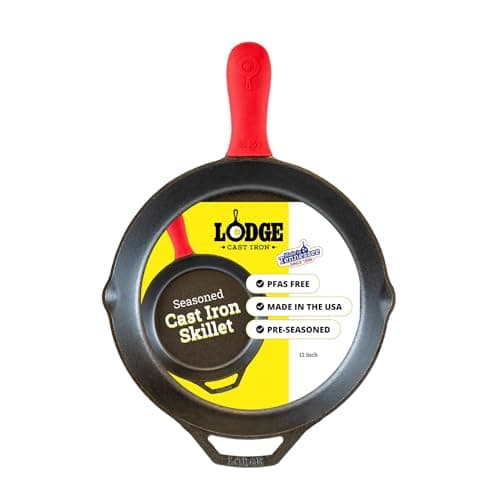
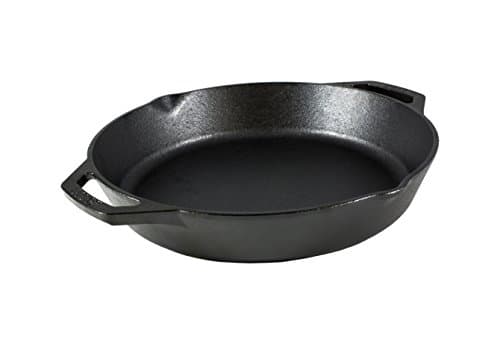
A heavy skillet, 10 inches or larger.Ten inches for two steaks, twelve for four. Do not crowd them: steaks closer than a thumb's width apart steam each other and you lose the browning you paid for. A standard pre-seasoned Lodge is entirely sufficient here; a machined pan releases a crust slightly more cleanly and costs several times as much, which is a real but small advantage.
An instant-read thermometer. The most important tool on this page, and the one most people skip.
A high-smoke-point fat for the sear, and butter for the finish.Butter alone will burn: Wikipedia lists unrefined butter's smoke point at 302°F against 482°F for clarified butter, 480°F for beef tallow and 520°F for refined avocado oil. So sear in a refined oil or tallow, then add butter late, when the pan has come down.
Tongs, not a fork. Piercing a lean steak loses juice you cannot get back.
The three skillets we would use for this are ranked below.
The method
1. Dry the steak, and salt it early
Pat it completely dry with paper towel. Surface water has to boil off before browning can start, and on a cut this lean every second of that is a second of overcooking. Salt it at least forty minutes before cooking if you can — long enough for the salt to draw moisture out and then be reabsorbed — or immediately before, if you cannot. Salting ten minutes before is the one timing to avoid, because that is when the surface is wettest.
2. Preheat the pan longer than feels sensible
Medium-high, empty, for several minutes. Iron conducts sideways slowly, so a pan that is hot in the middle and cool at the rim will brown one steak and not the other. The test is a drop of water that skitters rather than sits. The mechanism, and how long it really takes, is in how to preheat cast iron.
3. Sear hard, about two minutes a side
Add a thin film of high-smoke-point fat, lay the steaks down away from you, and leave them alone. Moving a steak in the first ninety seconds is how you end up with a pale steak and a stuck one. Two minutes, flip, two minutes.
4. Roll it onto its edges
Hold each steak with tongs and brown the curved side in two or three stages, twenty to thirty seconds each. This is the step that separates a filet done properly from a filet done like a ribeye, and it takes under two minutes.
5. Drop the heat and baste — or go to the oven
For steaks up to about an inch and a half: turn the heat down to medium-low, add a knob of butter with a crushed garlic clove and a thyme sprig if you like, tip the pan and spoon the foaming butter over the steaks for a minute or two. For anything thicker, put the whole pan into a 400°F oven instead and start checking at five minutes — the steak is too tall to heat through from one face without burning it.
6. Pull it on temperature, then rest it
Probe the center from the side. The published US guidance for beef steaks is 145°F with a three-minute rest, and that is the figure we will put a number on. Many cooks deliberately pull tenderloin below that for a rarer result; that is a personal risk decision rather than a recommendation we are in a position to make for you, and we are not going to publish a doneness chart we did not generate. Whatever target you choose, remember that a thick steak carries over several degrees after it leaves the pan, so pull it before it arrives. Rest it on a board, loosely covered, for at least five minutes.
7. Make the pan sauce while it rests
There is fond in the pan and you have five idle minutes. A splash of stock, wine or brandy, scraped up and reduced with the residual butter, is the whole sauce. Do this in bare iron quickly rather than letting wine sit in the pan — acid and bare seasoning are not long-term friends, which is covered in cooking acidic food in cast iron.
The four ways this goes wrong
A wet steak. No browning until the water has gone, by which point the inside is overcooked. Dry it properly.
A crowded pan. Two steaks touching is a braise, not a sear. Use the 12-inch, or cook in two batches.
Butter in from the start. It will be black before the steak is brown. Oil first, butter last.
Cooking to a timer. Thickness varies more than recipes admit, and this cut punishes guessing. Use the thermometer.
One more honest warning: this is a smoky technique indoors, by design. If a smoke alarm has ended a steak night in your kitchen before, read how to sear without setting off the smoke alarm before you start, because the fix is mostly in the oil choice and the extractor.