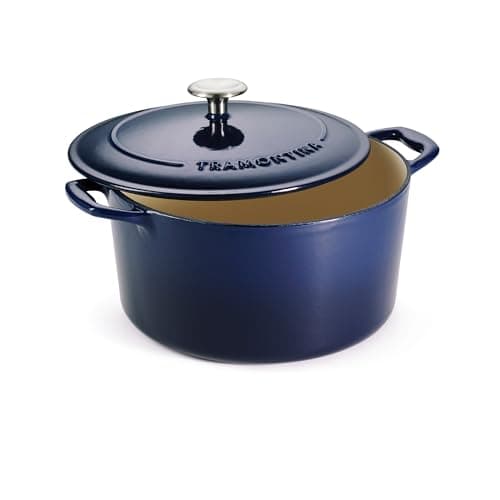
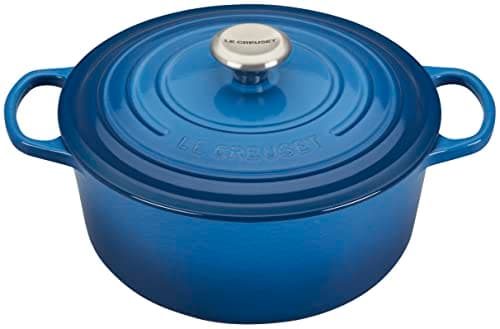
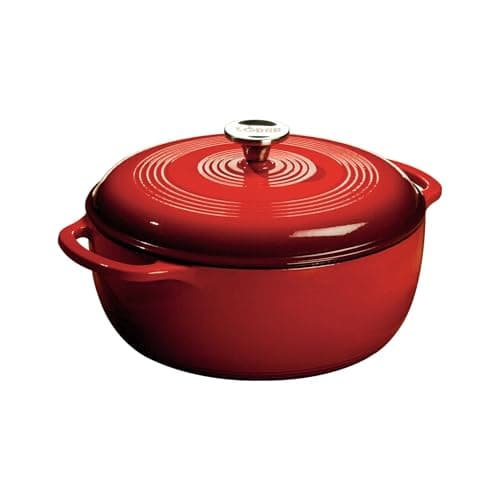
Buy a bone-in pork shoulder, brown it hard in the pot on the stove, sit it on a bed of onion, carrot and celery with a cup or so of liquid, put the lid on and cook it at 300°F for about three to four hours until a fork turns in it freely. That is the whole method, and the only piece of equipment it needs is a lidded cast-iron pot — a 6-quart enameled dutch oven is the right size for a family roast and the cheapest good one does the job as well as the expensive one.
This is braising rather than roasting, and the distinction is the reason the dish works. Braising is combination cooking: dry heat first for color and flavor, then moist heat in a covered vessel for texture. A dutch oven is the one vessel that does both without transferring the meat, which is why the technique and the pot grew up together.
Which cut, and which one to avoid
Buy: shoulder, butt, picnic, or a blade roast
These are the hard-working cuts, full of collagen — the connective tissue that converts to gelatin under long, moist heat and turns a cheap cut into the best thing you will eat that week. Bone-in is better than boneless: more flavor, more gelatin, and it is harder to overcook. Four to five pounds feeds a family with leftovers.
Avoid, or treat differently: loin and tenderloin
A pork loin is lean and has almost no collagen. Braise it for three hours and it does not become tender — it becomes dry, because there is nothing in it to convert. If a loin is what you have, cook it like a large steak: sear it, then roast it uncovered to temperature and take it out. Length of cooking is not a virtue in itself; it is a tool for a specific kind of meat.
The pot: what you actually need
Six quarts, round, with a tight lid. Big enough for a four-to-five-pound bone-in roast plus vegetables, small enough that the liquid is not spread into a puddle.
Enameled rather than bare, for this dish. A pork braise usually involves wine, cider, stock or tomato, and a long acidic simmer is the one thing bare cast-iron seasoning genuinely dislikes. Enamel is glass fused to the iron, so acid is irrelevant to it, and it comes out of the dishwasher cycle of life unchanged. If you only own bare iron you can still do this — keep the liquid closer to stock than to wine, and re-oil the pot afterwards.
Check the lid knob rating if you plan to go above 450°F.You should not need to for this dish — 300°F is the whole point — but it is the spec that catches people out, and ours are listed on the enameled rankings.
The three pots we would use are ranked below, and the price spread between them is large while the cooking difference is not. Our Lodge vs Le Creuset comparison is the honest account of what the premium buys.
The method
1. Dry it, salt it, leave it
Pat the roast dry and salt it generously all over, ideally a few hours ahead and uncovered in the fridge. A dry surface is a precondition for browning, and salt needs time to get past the outer quarter-inch.
2. Brown it properly, in the pot, on the stove
Medium-high heat, a film of oil, and five or six minutes a side until each face is genuinely brown rather than beige. This step is the flavor of the finished dish — the Maillard reaction creating hundreds of compounds that long slow cooking cannot produce on its own. It is also the step people rush. Do not crowd the pot, and if the roast is awkward, brown it in two stages.
3. Build the bed
Lift the roast out. Soften a rough-cut mirepoix of onion, carrot and celery in the fat for five minutes, scraping up the fond as it loosens. Add garlic for the last thirty seconds. This bed keeps the roast off the bottom of the pot, which is how you avoid scorching the underside.
4. Deglaze, then add very little liquid
A cup of cider, wine or stock, scraped and brought to a simmer. Then stop. A braise is not a boil: you want liquid roughly a third of the way up the meat, no more. Too much and you have made soup and washed the crust off the roast you just spent ten minutes building.
5. Lid on, 300°F, and leave it alone
Three to four hours for a four-to-five-pound bone-in shoulder. Resist checking it more than once an hour; every look costs you oven temperature and steam. The lid is doing the real work here — it returns condensed moisture to the pot so the meat cooks in a saturated atmosphere rather than drying out.
6. Judge it by the fork, not the clock
The published US minimum for fresh pork is 145°F with a three-minute rest, and a braised shoulder will pass that temperature hours before it is good to eat. That is not a contradiction: 145°F is the food-safety floor, and tenderness is a separate question that depends on collagen conversion, which takes time at temperature. The test is mechanical — a fork inserted into the thickest part should twist with no resistance. If it fights you, it needs another forty-five minutes.
7. Rest, then reduce
Lift the roast onto a board and cover it loosely. Skim the fat from the pot and reduce the remaining liquid hard on the stove for five to ten minutes — that is your gravy, and it needs no flour. Pull or carve the pork and spoon it over.
Variations worth the detour
With potatoes and carrots: add them whole or halved for the final ninety minutes only. Put them in at the start and you get mush.
With apples or cider: cider as the braising liquid, apple wedges in for the last thirty minutes so they keep some shape.
With sauerkraut: the old Pennsylvania-German version. Bed the kraut under the roast and halve the added liquid, because kraut brings its own.
Stove-top only:entirely possible — keep it at the barest simmer with the lid on and expect to turn the roast once or twice. The oven is simply a more stable, more even heat source, which is why most recipes use it.
If you want the beef version of exactly this technique, it is dutch oven pot roast, and the general braising method is laid out in how to braise in a dutch oven.